How to Replace an AC Drier Filter for Optimal Performance?
Maintaining an efficient air conditioning system is vital for comfort and energy savings. One of the key components in this system is the AC Drier Filter. This filter plays a crucial role in removing moisture and debris from the refrigerant. A clogged or damaged AC Drier Filter can lead to system inefficiencies and costly repairs.
Replacing the AC Drier Filter is not just a maintenance task; it’s essential for optimal performance. Neglecting this filter can result in poor cooling, increased energy consumption, and even compressor failure. Many homeowners underestimate the importance of this small part. Regular inspections are often overlooked, leading to unexpected issues.
Understanding how to replace the AC Drier Filter can save you time and money. It may seem daunting, but the process can be straightforward. With attention to detail, you can ensure that your HVAC system runs smoothly. Let’s dive into the necessary steps for replacing the AC Drier Filter and maintaining your home’s comfort.
Understanding the Role of an AC Drier Filter in Air Conditioning Systems
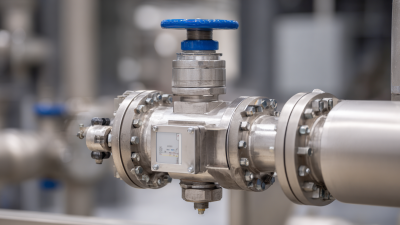
The AC drier filter plays a crucial role in air conditioning systems. It helps remove moisture and contaminants from the refrigerant. Too much moisture can lead to ice formation. This may damage the compressor and reduce efficiency. Keeping the drier filter clean is essential for your system's health.
Over time, the filter can become clogged. In turn, this restricts the flow of refrigerant. If you notice reduced cooling or strange noises, it might be time for a replacement. Inspecting the filter regularly can prevent bigger issues. You may need tools and safety gear to safely access it, which can be a hassle.
Replacing the filter isn't just about installation. It's also about understanding its role. Do you remember the last time you changed it? Such details matter for optimal performance. The cleaner the filter, the better your system runs. Yet many neglect this small but vital component. Regular maintenance pays off in longer AC life and lower energy bills.
Identifying the Right Replacement Filter for Your AC Unit
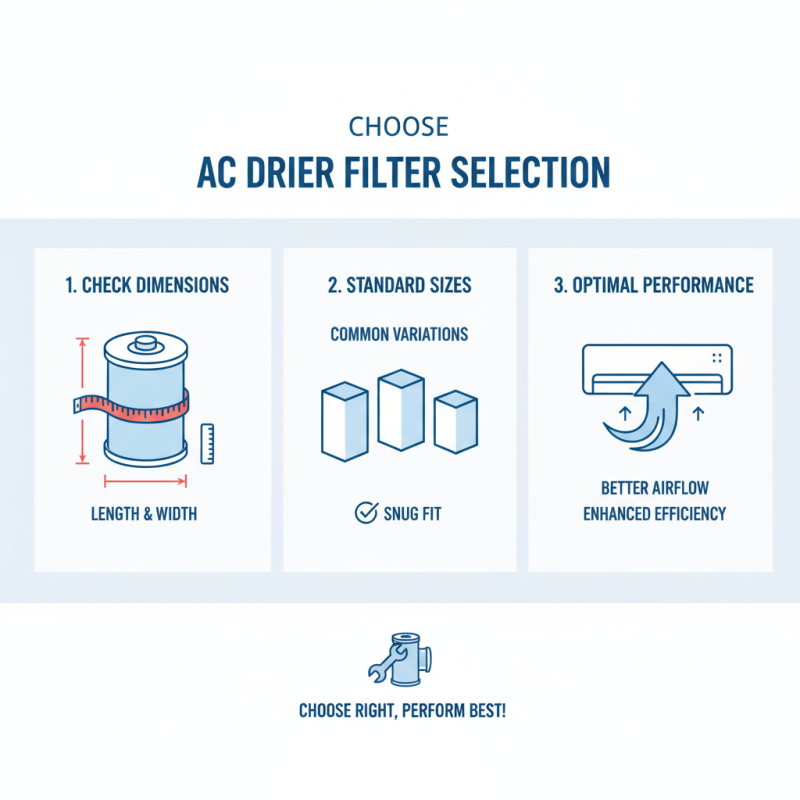
When replacing the AC drier filter, it's vital to select the right one for optimal performance. Start by checking the dimensions of your existing filter. Many filters come in standard sizes, but there can be variations. Measuring the length and width is essential. A snug fit ensures better airflow and enhanced efficiency.
Next, consider the filter type. Some are designed for specific air conditioning systems. Look for details like MERV ratings, which indicate filtration effectiveness. A higher MERV rating means more particles are captured. However, too high a rating can restrict airflow, causing strain on your system. Balance is key here.
Finally, think about the installation process. Some users might struggle with aligning the filter properly. If it doesn’t fit right, airflow issues can arise. It's essential to regularly check for any unusual noises or performance drops after installation. Always be cautious; sometimes, the smallest oversight can lead to inefficiency.
Step-by-Step Guide to Safely Remove the Old Drier Filter
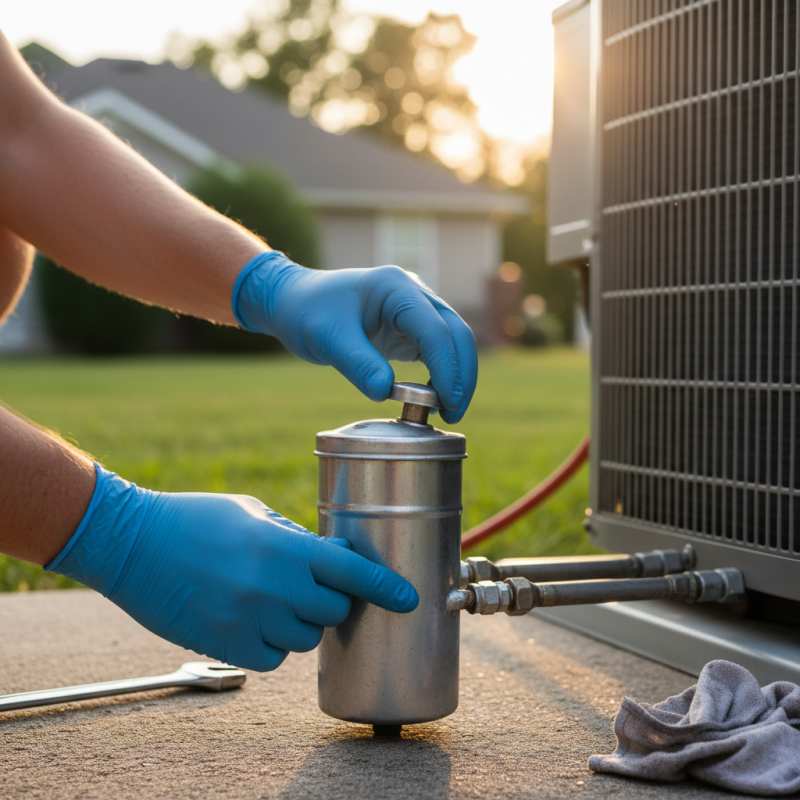
When replacing an AC drier filter, safety is a top priority. Start by turning off the AC unit. This prevents any electrical issues during the process. Wear protective goggles and gloves. These simple steps can save you from potential injury. Next, locate the old drier filter. It’s usually found near the compressor. Be careful; components may be hot.
Once you find the filter, gently remove it. Sometimes it might be stuck due to debris. If it doesn’t come off easily, consider loosening any screws or clips. Keep tools close, and check for any corrosion. It's vital to ensure a snug fit for the new filter. After removing the old filter, take a moment to inspect the area. Dust and dirt may accumulate, which can affect performance. Clear out any obstructions before installing the new filter.
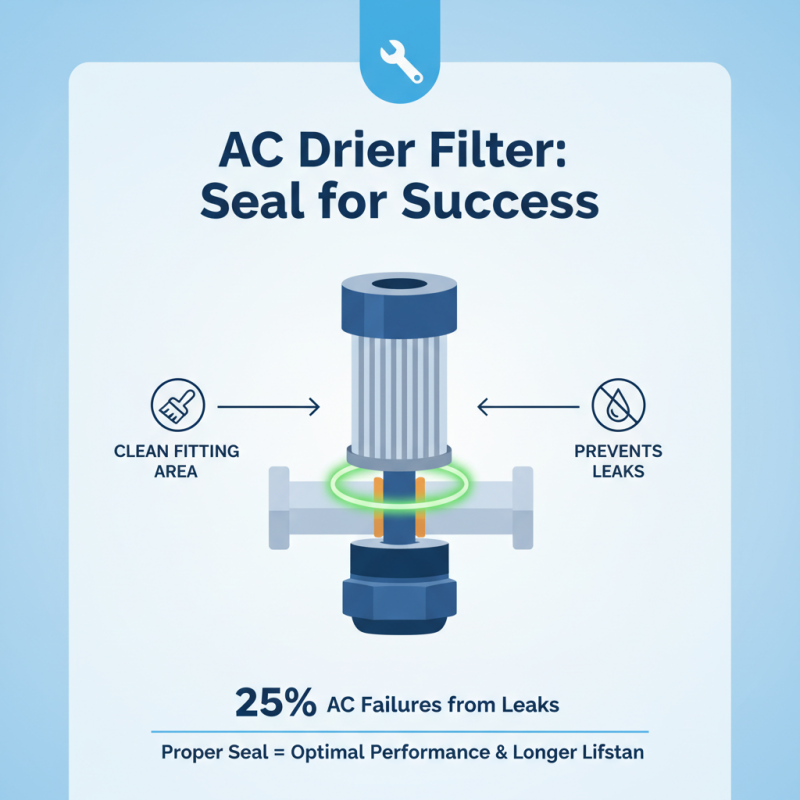
Installing the new drier filter requires precision. Make sure it’s oriented correctly. An incorrect fit can lead to leaks and reduced efficiency. Don’t rush this step; it can have lasting effects on your AC’s performance. After installation, double-check everything. A little time spent now can lead to better cooling later. Remember to test the system beforehand. If you notice anything unusual, it’s worth revisiting your work.
Performance Impact of AC Dryer Filter Replacement
Performing Routine Maintenance for Long-Lasting AC Performance
Performing routine maintenance on your air conditioning system is essential. A well-maintained unit runs efficiently and lasts longer. Replacing the AC drier filter should be part of your regular upkeep. This task is simple and can vastly improve your system’s performance.
Tips: Always check the filter every three months. A clogged filter restricts airflow and makes your AC work harder. Remember to take note of the filter's size when purchasing a new one. This detail is often overlooked and can lead to frustrating experiences.
Be mindful of the signs that indicate a dirty filter. If your AC isn’t cooling effectively, it might be time for a change. You might feel tempted to delay this task, but procrastination can lead to greater issues, like compressor failure. Regularly changing the filter is a small effort for a big payoff.
Tips: Keep a maintenance log. Document when you replace the filter and schedule your next check. This will help you stay on track. It’s easy to forget, but proper records make maintenance manageable.


 Email
Email Whatsapp
 WeChat